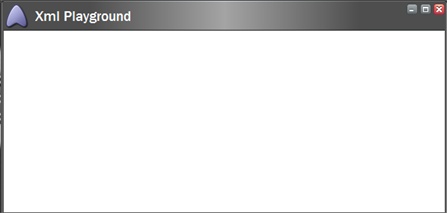
In this section, we walk through the steps required to create a simple XAML application and add it to Sitecore Client. You will use it as a testing ground for the next articles.
3.1. Application
The article assumes that you already know how to edit the Sitecore client to create and add a regular .html application (if not, please read the Editing the Sitecore client and Adding an Application Shortcut, and Creating XML application articles). Adding an XML application implements the same principles.
Open the Layout Studio and select File » New » XML Layout to create a new XML Layout. For this example, we call the layout ‘XmlPlayground’. Sitecore will automatically generate the following template:
Note: make sure to place the xml file in the /layouts folder. Otherwise you will need to update the controlSources section of web.config.
<control >
<XmlPlayground>
<FormPage>
<CodeBeside Type="My.XmlPlaygroundForm,XmlPlayground.dll"/>
</FormPage>
</XmlPlayground>
</control>
This code defines the main page of your application and binds a code-beside class to it. We will learn more about the code-beside class in the next section.
Now follow the procedure described in Adding an Application Shortcut to create an application using the XAML layout you’ve just created. Create an application shortcut and point it to the application.
3.2. Code-Beside
Before starting our application we have one thing left. We need to create a code-beside class which will handle our custom logic, much like the code-behind class in asp.net.
Using Visual Studio .NET, create a new class, reference the sitecore.kernel.dll assembly and inherit from Sitecore.Web.UI.Sheer.BaseForm class. Then compile the assembly and put it in the bin folder of your installation. Modify the <CodeBeside /> tag in the XML layout, changing the default values to point to your class.
That’s it. Start your application. If you’ve done everything right, you should see an empty Sitecore window. That’s a good start!
